 Back to the Be Inspired Blog
Growing and Propagating Bromeliads
A Beginner’s Guide to Growing and Propagating Bromeliads
Bromeliads are popular tropical indoor plants known for their vividly colorful leaf bracts that bloom like a flower but last for up to six months. Compared to your typical houseplant, they have some unique plant care requirements, but it’s nothing a beginner can’t handle. The thing is, bromeliad plants only bloom once, so if you want to witness another round of blooms, you’ll need to learn the basics of propagating. It’s simpler than you think—here’s how to do it!
Are Bromeliads Easy to Grow Indoors?
Most bromeliads are pretty simple to care for if you understand their sun, soil, and water preferences. Bromeliad plants are tropical epiphytes, so they have aerial roots that cling to trees and other rainforest plants. For beginners, the easiest bromeliad is Aechmea fasciata, a gorgeous plant with bright magenta bracts and forest green leaves highlighted with frosty silver stripes.
The Basics of Bromeliad Care
Since they don’t grow in a bed of soil in the wild, bromeliads require a potting medium that’s different from your typical potted plant—looser and chunkier with quick drainage. Instead of using potting soil, opt for a soilless medium like shredded bark or sphagnum moss. Orchids have similar soil preferences, so a potting medium formulated specifically for orchids will work great.
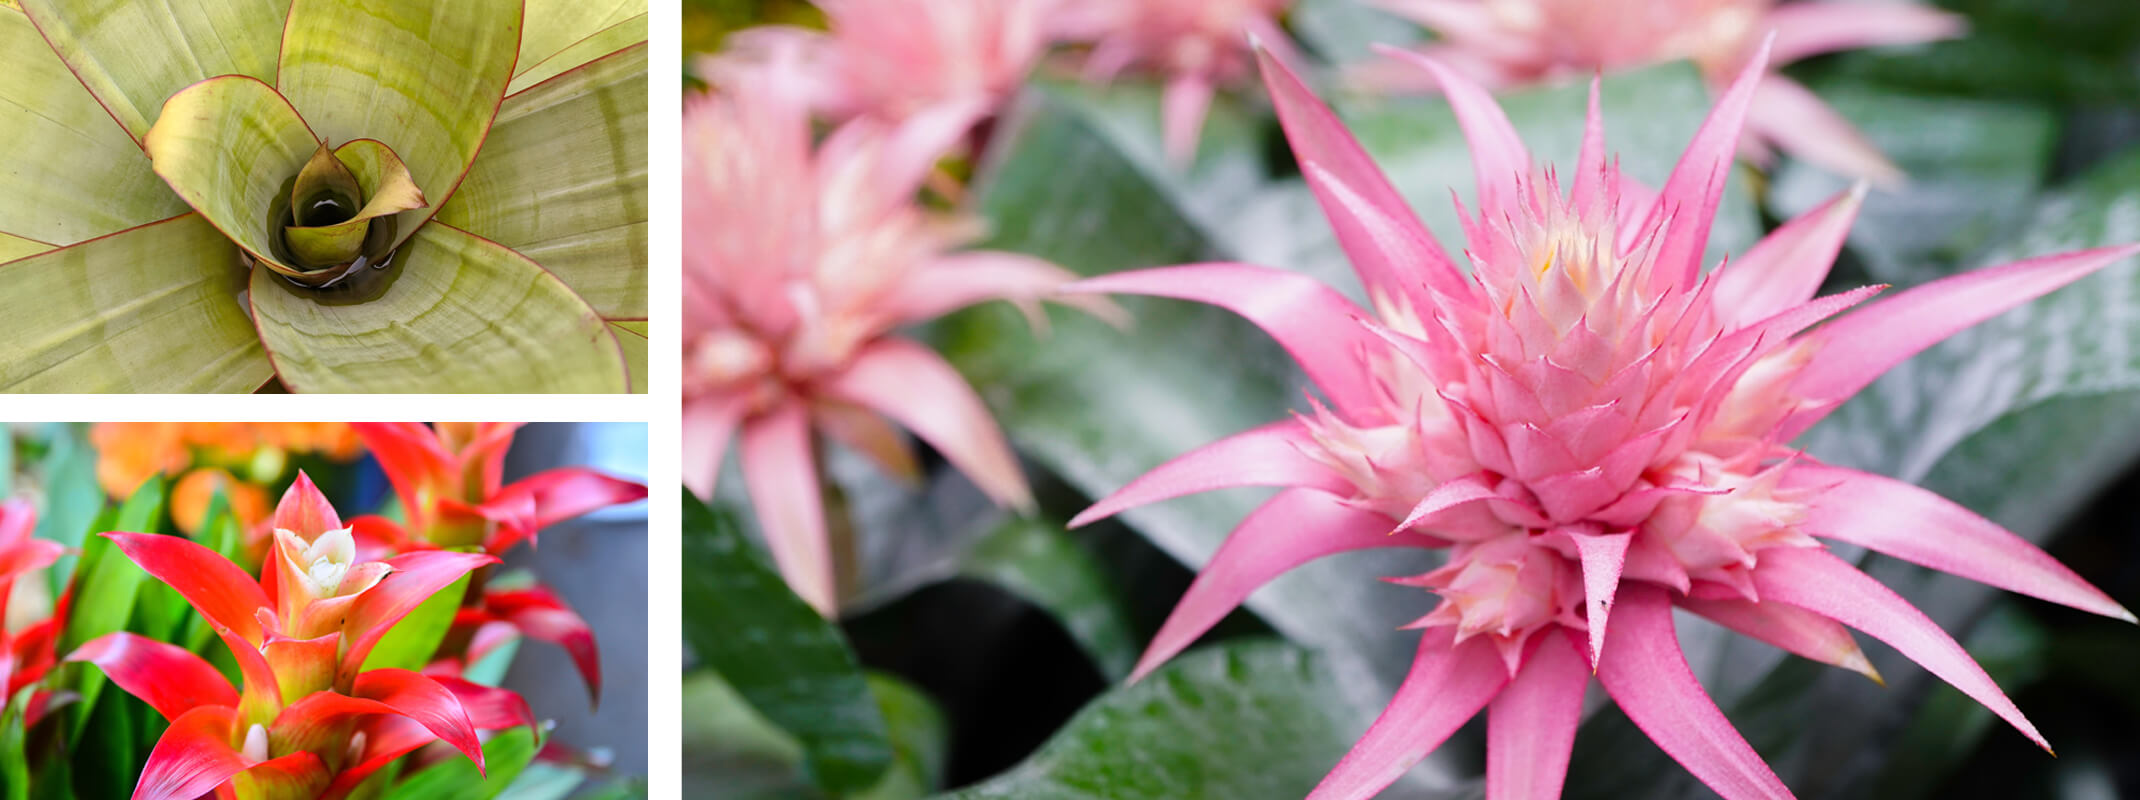
 The leaves of your bromeliad are shaped like waterslides, coming together to form a cup in the center. The cup is actually how bromeliad plants take in water—in the wild, they collect rainwater in the center cup, then absorb it slowly. So, instead of watering the potting medium, pour water directly into your bromeliad’s cup, then spritz the leaves and bracts with a fine water mist.
Avoid putting your bromeliad somewhere with intense, direct sunbeams. They’re accustomed to shady tree canopies in the rainforest, and too much direct sun can give them a sunburn! Bright, indirect, or filtered light is best—an east or west-facing window will be a comfortable spot.
Propagating Bromeliads
After your bromeliad loses its colorful bracts, it won’t produce a second set. It will, however, produce a bromeliad “pup.” The pup is like a baby bromeliad plant you can pop off and repot. The term “propagation” refers to replanting a piece from the mother plant!
Your bromeliad plant pups are ready for propagation once they’ve reached ⅓–½ the size of the mother plant. If they’ve developed their own roots, that’s a sure sign they are ready for replanting, but it isn’t necessary for successful propagation. Gently detach the pup from the mother plant with a sterile knife, and if there’s a leaf at the base of the pup, you can peel it off. If the pup doesn’t have any roots, you can brush a bit of rooting hormone on the base to stimulate growth.
Plant your new pup in a pot of soilless medium, spritz it with water and place it in indirect sunlight . Soon it will have a growth spurt, growing longer leaves and a taller inner cup, and eventually a bright inflorescence just like its mother plant. You don’t have to toss away the mother plant after propagating a pup—it may very likely produce more pups after you remove the existing ones!
SummerWinds has a fantastic variety of bromeliads in California —Aechmea fasciata, tillandsia, and many more! Visit one of our locations to see all the interesting and colorful bromeliad plants ready to bring home today.