 Back to the Be Inspired Blog
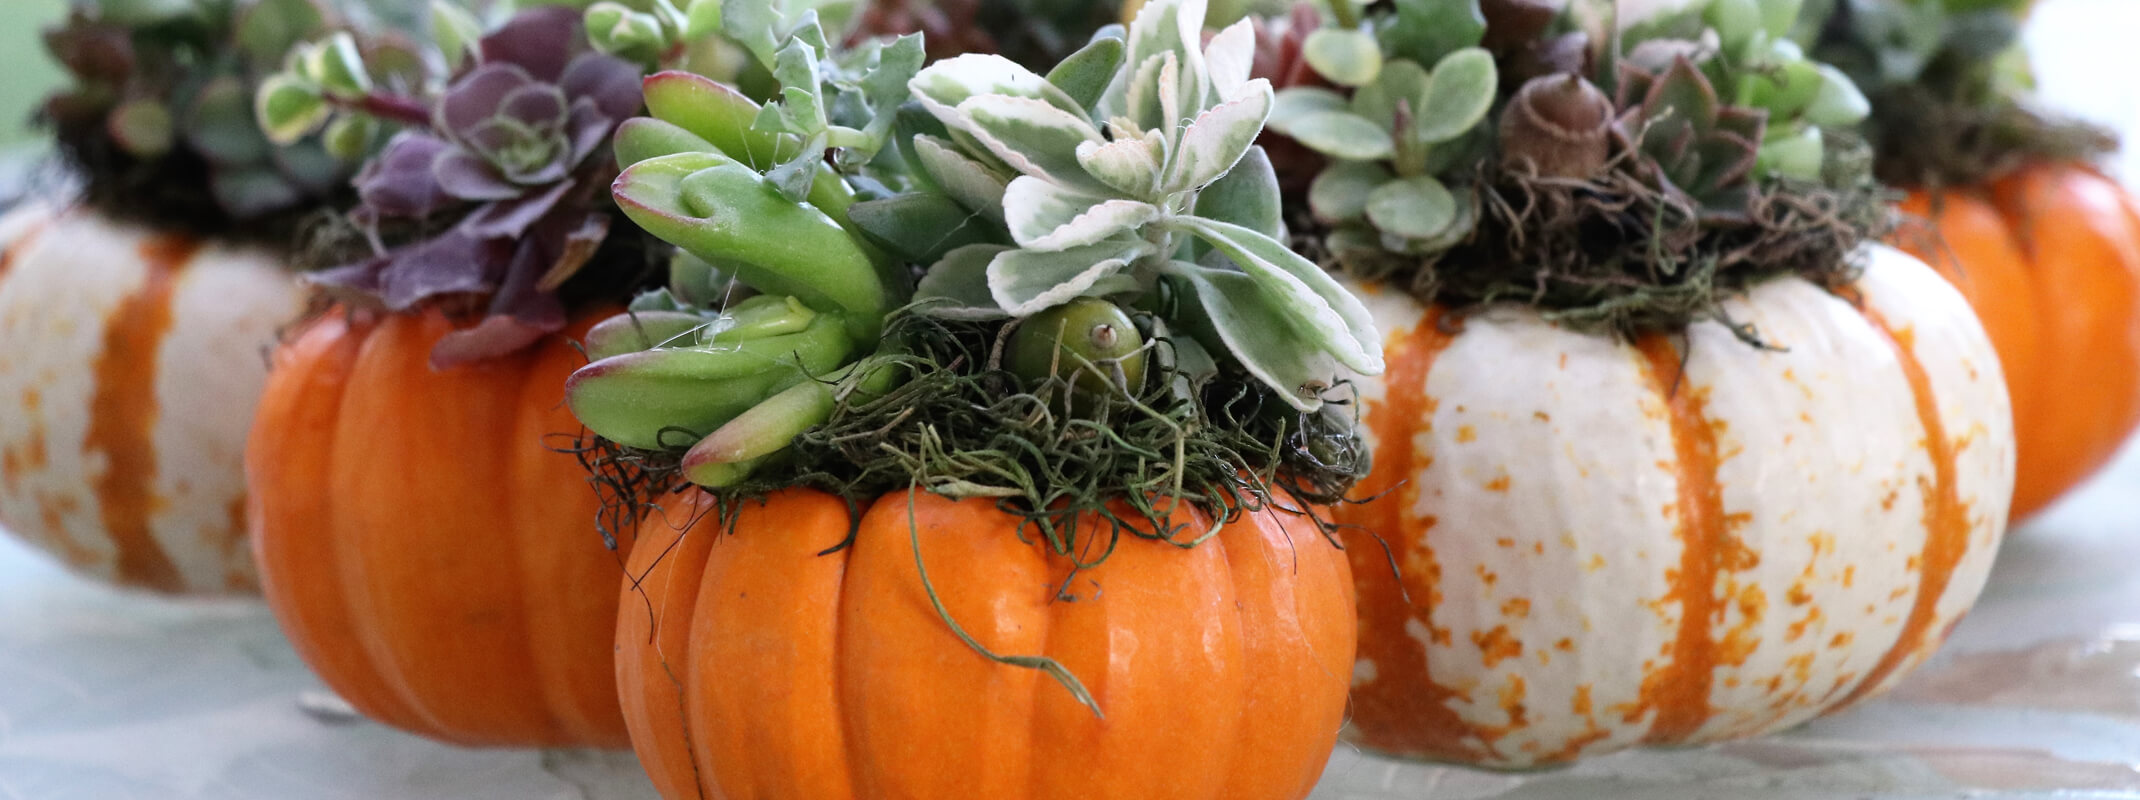
Succulent Topped Pumpkin
Create A Succulent Topped Pumpkin in 7 Easy Steps
Two Things To Keep In Mind…
Your little creation will be delicate during as well as after assembly. The process can be a little messy so be sure to have a drop cloth on hand to cover any surface you’d like to keep free of dirt.
It will last on its own for about a month (maybe longer), provided it doesn’t get overwatered and isn’t exposed to dramatic environments. Keep it out of the hot sun. Water once or twice a month— a spray bottle with its nozzle turned to the stream option (not mist) is a good way to give the plants water. Your succulents can be transplanted to a pot or your garden when you’re finished enjoying the display.
What you’ll need:
- A pumpkin
- Hot glue gun and glue sticks
- Sphagnum moss
- Mini succulents; succulents with a small root ball
- Extra decorative elements like anise pods, green moss
 STEP 1
Choose a pumpkin with a sunken top; use the hot glue gun to adhere sphagnum moss around the stem. You want to cover all areas where the succulent roots will be.
 STEP 2
Loosen the roots of your succulents, taking off the bulk of the soil. The succulents’ roots should stay happy in their sphagnum moss home for at least a month.
 STEP 3
Nestle the succulent root ball onto the sphagnum moss. Glue a couple of the outer leaves onto stable elements – the pumpkin stem, a well-glued patch of moss, or the pumpkin itself. Just a little bit of glue is all you really need.
 STEP 4
Group the succulents together tightly as you add them one-by-one to the pumpkin. Glue outer succulent leaves to each other if there is nothing sturdier to glue them to. Add more sphagnum moss as you go if you need more.
 STEP 5
Add decorative elements with the glue gun.
 STEP 6
Tuck in some green moss to cover any dirt holes or sphagnum moss patches; glue it in if needed.
 STEP 7
This is the most important step…
Photograph your pumpkin and share it with us!
We would love to see your Succulent Topped Pumpkin. Share pictures with us on Instagram #SummerWindsPumpkins or tag us on Facebook.

To download a pdf version of this DIY How-To: Succulent Topped Pumpkin