 Back to the Be Inspired Blog
Reindeer Games: 5 Holiday Crafts for Christmas at Home
As December approaches, many of us are gearing up for the winter season. We've put together a list of cool winter crafts for you and your family to enjoy together while kids are out on holiday break. Instead of getting caught up in Netflix and video games, taking a break from screen time to engage in a creative outlet can be a refreshing and shared experience for everyone.
Grab your hot glue gun, pour some hot chocolate, and crank up our winter Spotify playlist, because it’s time to get crafty! These creative projects are fun to make, and the end results are prettier than you’d expect!
5 Fantastic Christmas Crafts for Quality Family Time
Why shell out tons of cash on winter decorations when you can make your own custom decor at home? We put together an assortment of crafty tutorials for families with kids of all ages so that you can find something suitable for everyone in your home. You’ll want to bring these gorgeous pieces out year after year—and not just for sentimental reasons!
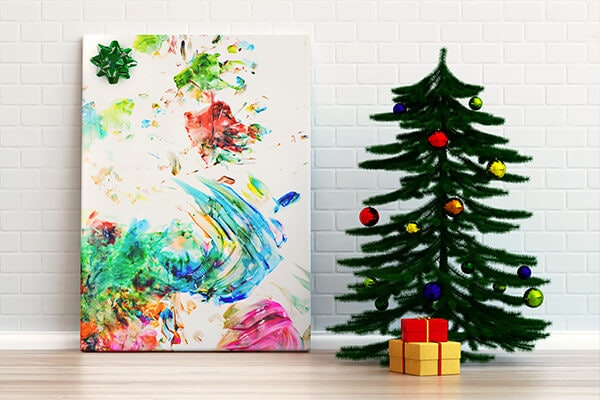
Christmas Present Canvas Paintings
This is the perfect art project to work on with kids of literally any age. If they can fingerpaint, they’re old enough to make a Christmas present canvas! All you need are some paints in traditional Christmas colors (opt for non-toxic if you’re dealing with little ones), some canvases in assorted sizes, and some gift box ribbons.
Put down plenty of newspaper onto the floor to make for easy cleanup. Pour different colored paints onto paper plates, and let the kids get creative! Youngsters can fingerpaint, while older ones can use different sized brushes to create pictures and patterns. When they’re done, let the paintings dry and wrap them with a bow, just like you would with a Christmas present! Then, hang them on the wall so you can show off your family’s latest masterpieces.
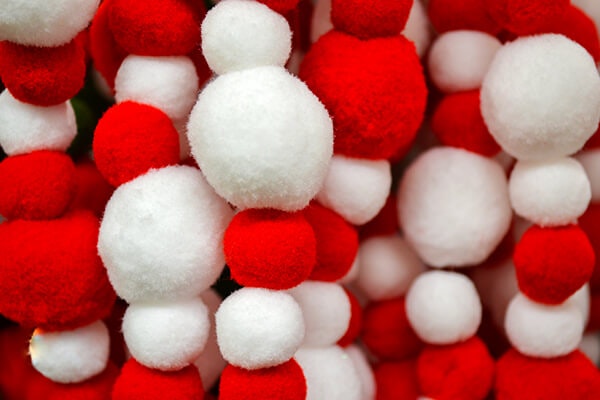
Pom-Pom Garlands and Wreaths
Pom-poms have suddenly evolved from a cheap craft material and have now become one of the most trendy decor pieces for 2021! Surprisingly, this increase in popularity has meant a rise in price, and many of the pom-pom garlands available online are a touch expensive. Luckily, it’s easy to make your own, and you can customize it however you like!
To make pom-poms, you’ll need a bunch of different colors of yarn, some sheets of cardboard, and some scissors. Get everyone to choose 3 or 4 different yarn colors to be part of their collection so that everyone can have their own personal combination. You don’t have to go with typical Christmas colors—sometimes pastels, jewel tones, or monochromatic palettes can look unexpectedly stunning.
First, take the cardboard, cut out a circle, and then cut a 1-inch diameter hole in the middle so it’s shaped like a donut. Then, make another identical cardboard donut. Wrap yarn all around the donut until it’s completely covered in a thick layer of yarn. Then, tie the two loose ends together so it won’t unravel.
The next part requires some dexterity, so you might want to help the younger kids with this step. Hold the yarn donut in one hand, pinching near the hole so the strings stay in place. Then, take your scissors and cut all around the edge of the donut. Separate the two cardboard donuts ever so slightly, so you can tie a piece of yarn around the middle of the bundle, between the cardboard pieces. Tie it tight, and this will hold all of the strings together.
Remove the cardboard, fluff out the yarn into a sphere shape, and then use your scissors to trim so that it’s smooth and evenly sized. Make a whole bunch of pom-poms in different sizes and colors, so you can string them along on garlands or glue them together on a wire ring to make a pom-pom wreath!
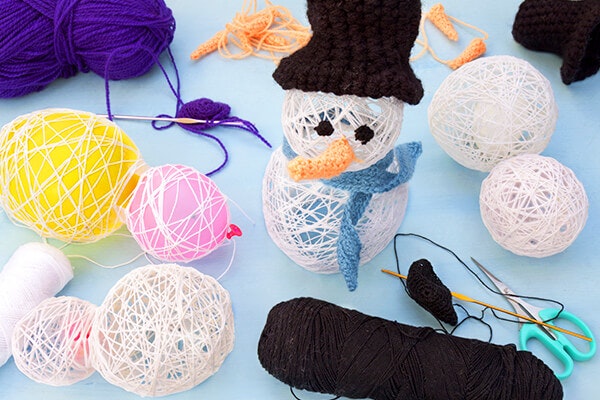
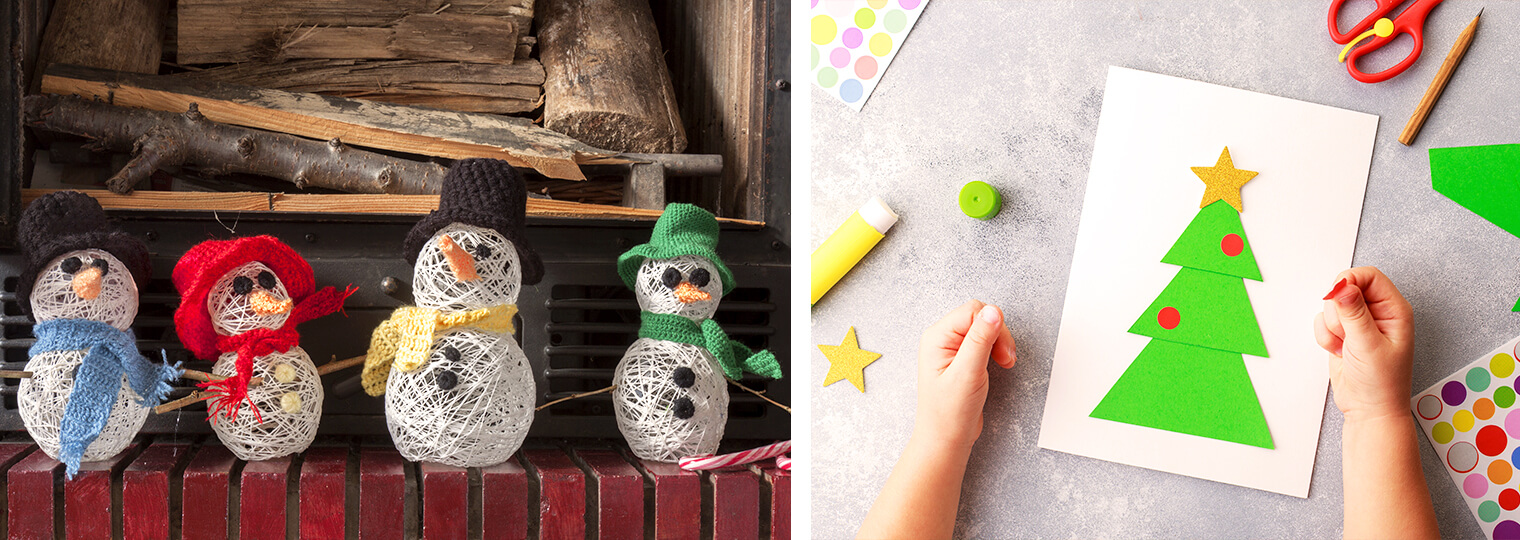
String Ball Snowmen and Christmas Trees Cones
The classic glue-covered string ball technique never ceases to amaze crafty kids. Make a mixture of one part glue and one part water, fill up a bowl, and grab plenty of white yarn cut up into long pieces. To make a snowman, fill up three balloons, one slightly larger than the next, but try not to fill them up too much so they still maintain a spherical shape. Dip the strings into the glue mixture, and wrap them around the balloon one at a time, until it’s covered in strings. Don’t worry about covering all the surface area—there are supposed to be little gaps throughout.
Let the wet, string-covered balloons dry overnight on a piece of newspaper. When they’re dry, you can pop the balloons, and you’ll be left with a solid string ball! Glue the three together in a snowman shape, and then make a set of eyes, a nose, buttons, arms, and a hat and scarf with whatever materials you can collect—buttons, construction paper, and scrap fabric all work great!
For Christmas tree cones, use the same technique, but wrap the strings around sheets of paper that you’ve rolled into cones. Place a sheet of waxed paper over a sturdier paper, like craft paper, to make the “tree” easier to remove from the paper form once it dries. Cut the bottom of the cones so they’re even and will stand upright. When the glued strings are dry, you can remove the paper inside and paint them green, silver, gold, or whatever color you like! Add shiny beads or little stars to put on top for some extra flash.
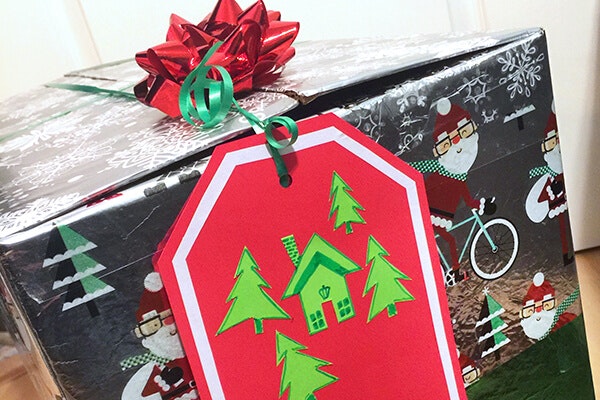
Collage Reusable Gift Boxes
If you feel a little guilty every time your family tosses away mountains of ripped up wrapping paper, you might want to consider a more eco-friendly approach to gift wrapping! Instead of disposable bags and paper, find some boxes to upcycle into reusable wrapping! Lidded containers like shoeboxes and Mandarin orange boxes make the best gift boxes, but you can always fashion a lid out of extra cardboard and tape for all the Amazon boxes you’ve accumulated this year.
To collage your boxes, grab some mod podge and some paintbrushes, scissors, and different types of decorative paper for cutting out and pasting. If you’re unsure of what kind of paper to use, here are some ideas:
- Grab some old magazines from an antique store. The vintage ads are so dreamy!
- Use up the old, half-used rolls of gift wrap from previous years.
- Cut out pictures from construction paper.
- Use a stamp set or stickers to add pictures to construction paper.
- Cut out pretty pictures and decorative elements from winter catalogs.
- Cut out letters from magazines and write out messages or Christmas carol song lyrics.

Birdseed Ornaments
This is a super fun and simple art project to work on, and after you’ve fully appreciated the ornaments as they hang on your tree, you can bring them outside for the wild birds and squirrels to enjoy! They’re so simple to make—you just need a birdseed mix, two packets of unflavored gelatin, corn syrup, 12 Christmas cookie cutters, 3 plastic straws, and some twine.
To begin, combine ½ cup of cold water with the gelatin packs in a mixing bowl. Then, add ½ cup of boiling water and stir until dissolved. Mix in 2 tbsp of corn syrup, 2½ cups of birdseed, stir it up, and then place it in the fridge for ten minutes. It will start out a bit watery, but that time in the fridge will help it get more sticky.
Once it’s out of the fridge, you’re ready to mold it into shapes. Line a baking sheet with parchment paper, lay out your cookie cutters, and then stuff them with the seed mix. Press down firmly and make sure the cutters are totally full. Next, take your drinking straws and cut them into 2” pieces. Press the cut pieces into the ornaments, wherever you want the hole to be so you can string the twine through it later. Don’t do it too close to the edge or the ornament will break—try to keep it about ½ an inch away for the edge.
Put your ornaments in the fridge overnight, and they’ll be ready to pop out the next day! Carefully push them out of the cutters, remove the straws to reveal the hole, and then string through some twine so you can hang them.
We’re really looking forward to all the upcoming quality time with family this winter! If you’re still on the hunt for nice presents that will be memorable and appreciated, we always suggest opting for houseplants! Nothing brightens up a drab winter day like some lush, vivid greenery, and with proper care, the plants at SummerWinds Nursery can be enjoyed for many years to come. Visit us in-store to see our whole collection!